Add a Data Disk to a Windows Virtual Machine and Initialize it for use
There are occasions when it becomes necessary to expand the data storage capacity of your virtual machine to accommodate additional files such as documents, videos, expanding transactional datasets etc. With Azure, enhancing your virtual machine's storage capacity is a seamless process achieved by adding a "data disk". It's important to note that the data disk being referred to here is virtual.
Now, let's delve into the distinction between a data disk and an OS disk.
In straightforward terms, the OS disk is the component of your computer that houses the operating system. Typically, the OS disk is smaller in size compared to data disks, as it primarily holds the essentials for running the operating system. On the other hand, the data disk, unlike the OS disk, doesn't have an operating system. You can liken it to a memory card slot found in mobile devices, cameras, tablets, and similar gadgets.
Now, let's explore the step-by-step procedure for adding a data disk to our virtual machine.
Note. It is assumed that you already have a Virtual Machine for which you want to add a supplementary memory.
Step 1.
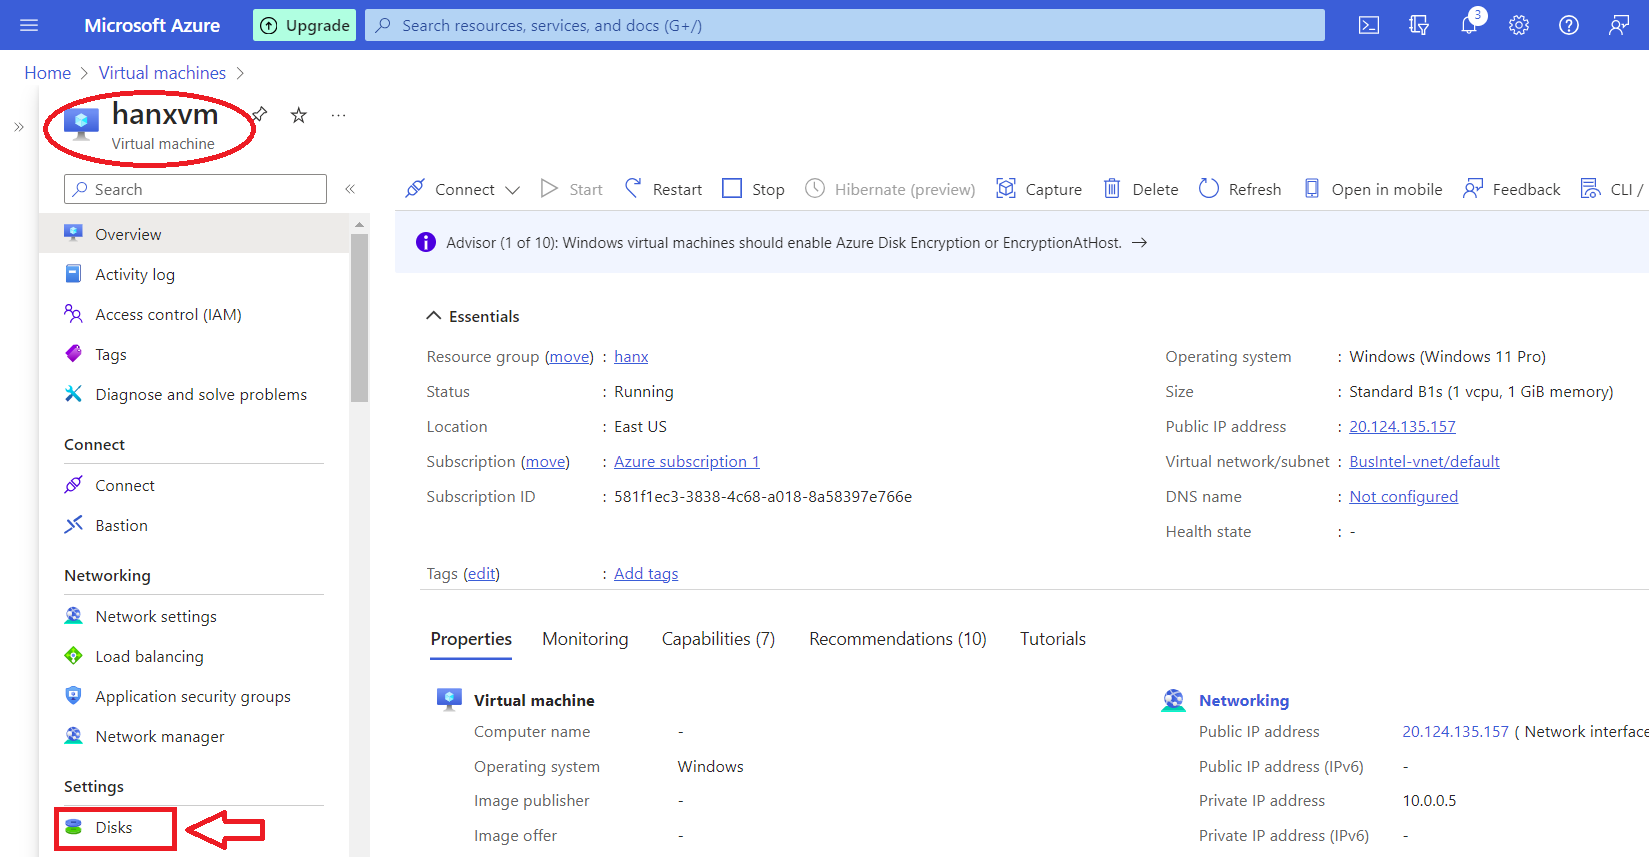
Navigate to your Virtual Machine and open the exact Virtual Machine you want to increase the memory. I opened my Hanxvm as seen in the oval. In the left pane, click on Disks. IF your VM is running, ensure you stop it before adding a data disk.
Step 2.
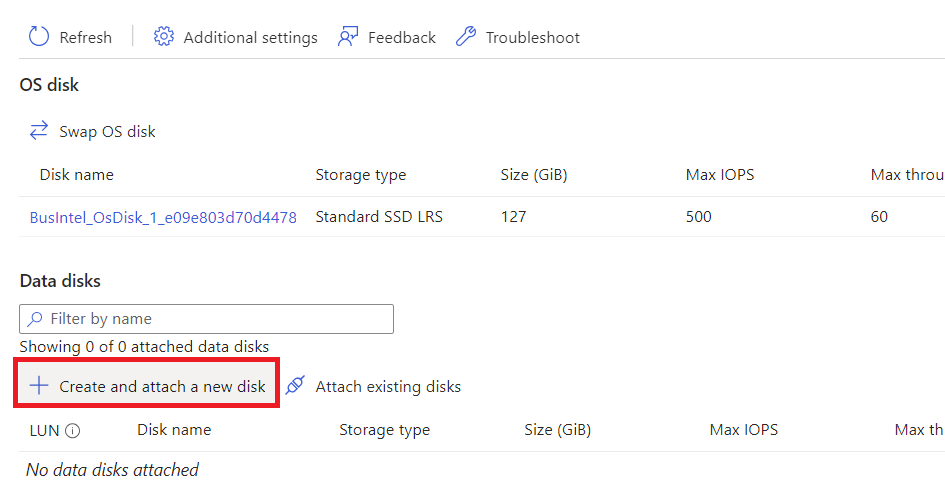
Click "Create and attach a new disk" in the Data disks segment
Step 3.
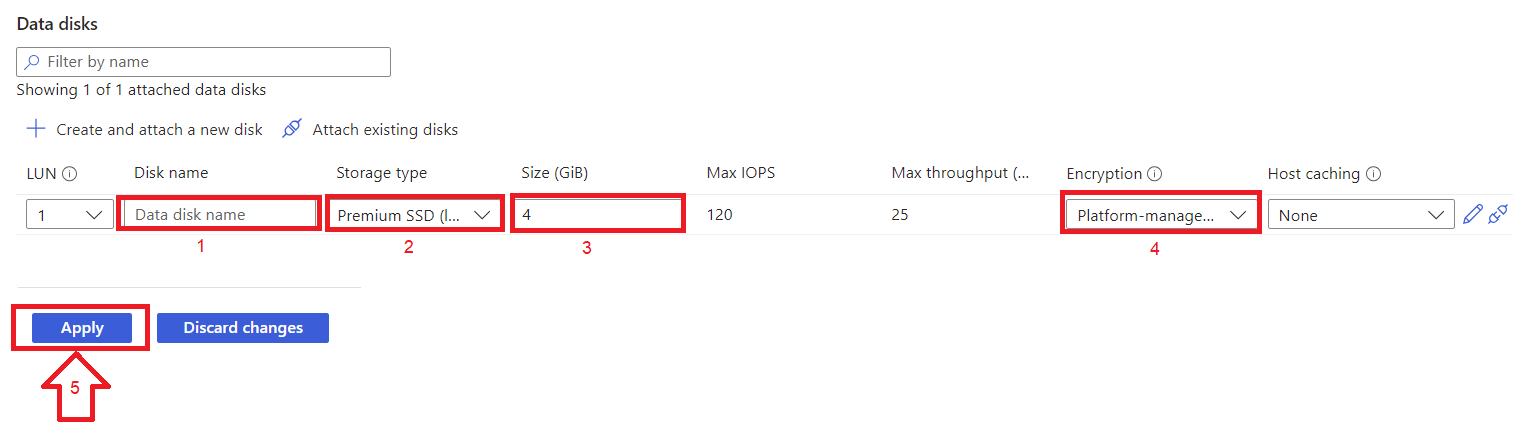
Provide a name for your data disk.
Choose the storage type, with Premium SSD being the recommended option.
Specify the storage size.
The default encryption is platform-managed key.
Click "Apply" to initiate the creation of the data disk.
Step 4.
Upon creating disk and you decide to increase the size follow the following steps.
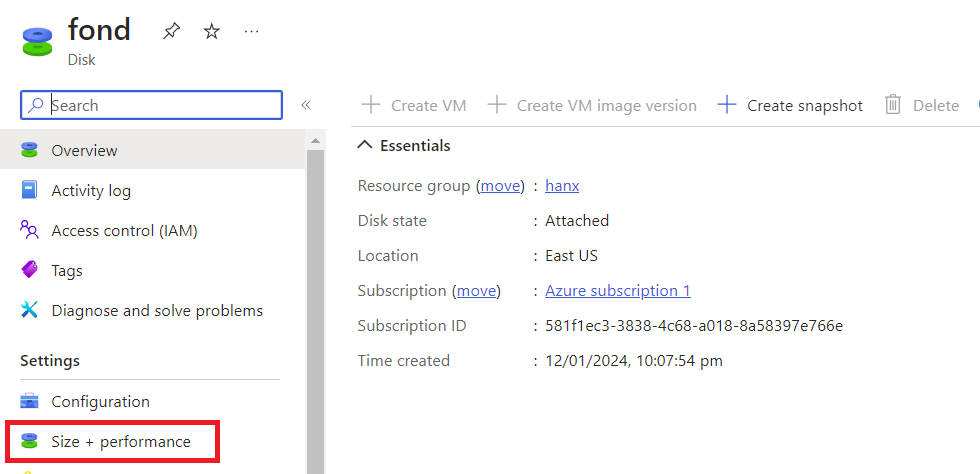
Click on the data disk name.

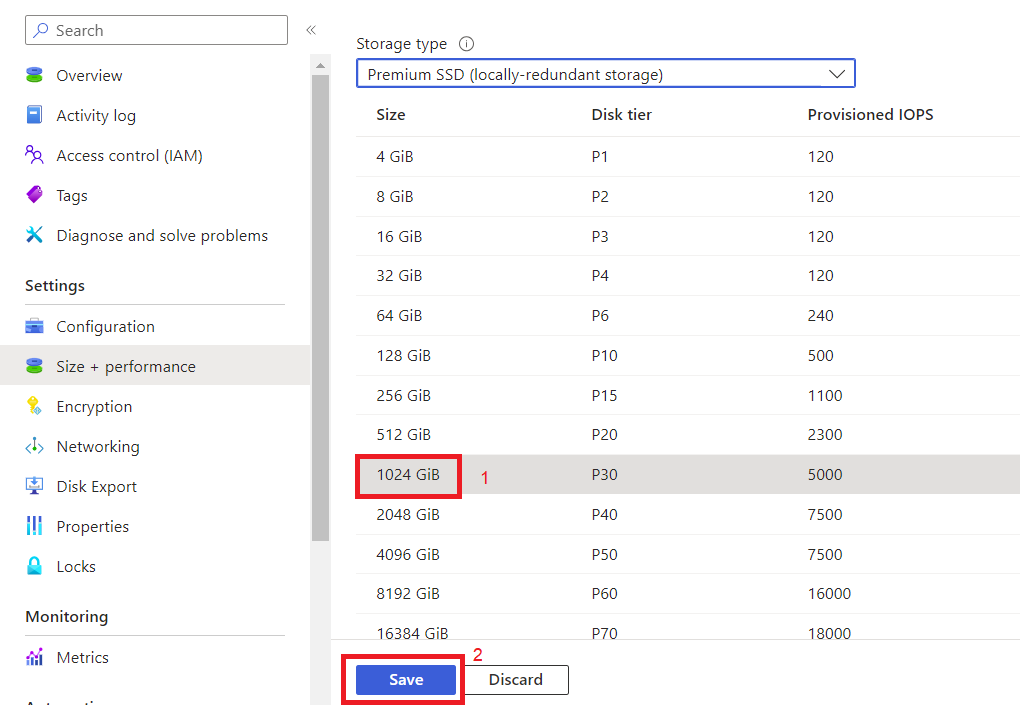
Click on "Size + performance
Choose your preferred size; in this instance, I've opted for 1024 GiB. Then, click "save" to apply the disk size update. This action will automatically attach the disk to your virtual machine.
Note: Premium SSD disks offer high-performance, low-latency disk support for I/O-intensive applications and production workloads. Standard SSD Disks are a cost effective storage option optimized for workloads that need consistent performance at lower IOPS levels. Use Standard HDD disks for Dev/Test scenarios and less critical workloads at lowest cost.
Step 5.
Connect to your virtual machine.
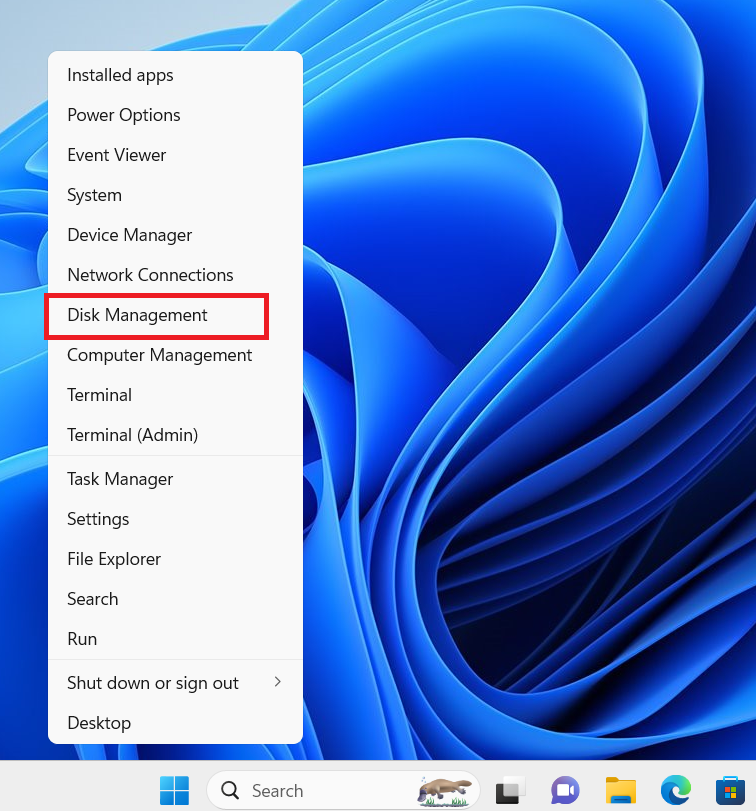
Right click the windows icon and select disk managemen
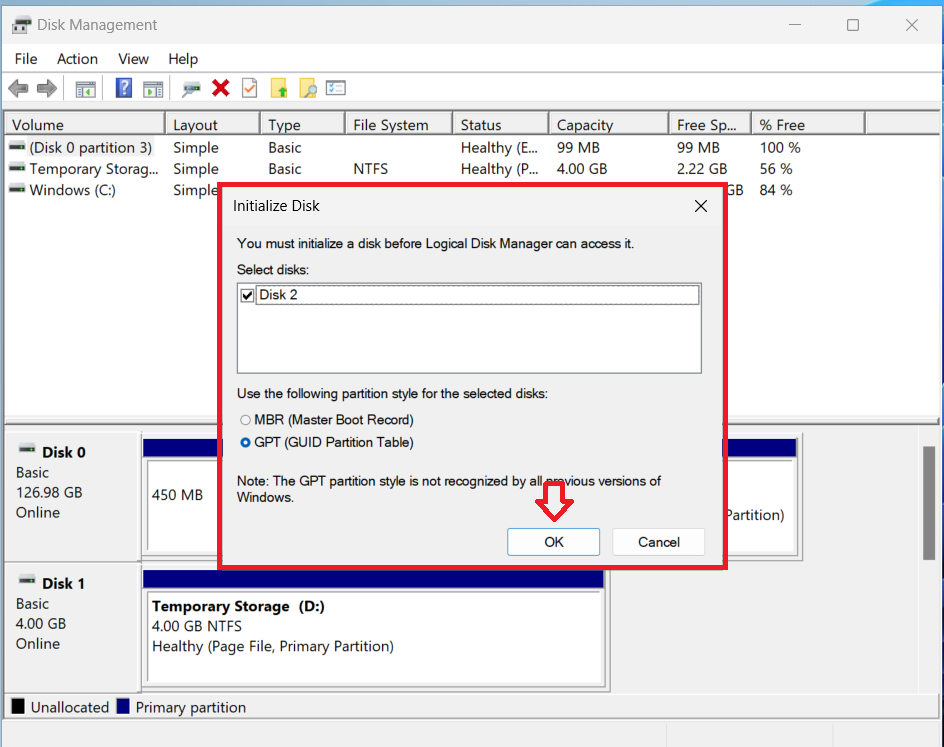
The Window below opens with a dialog box. Click on "OK"
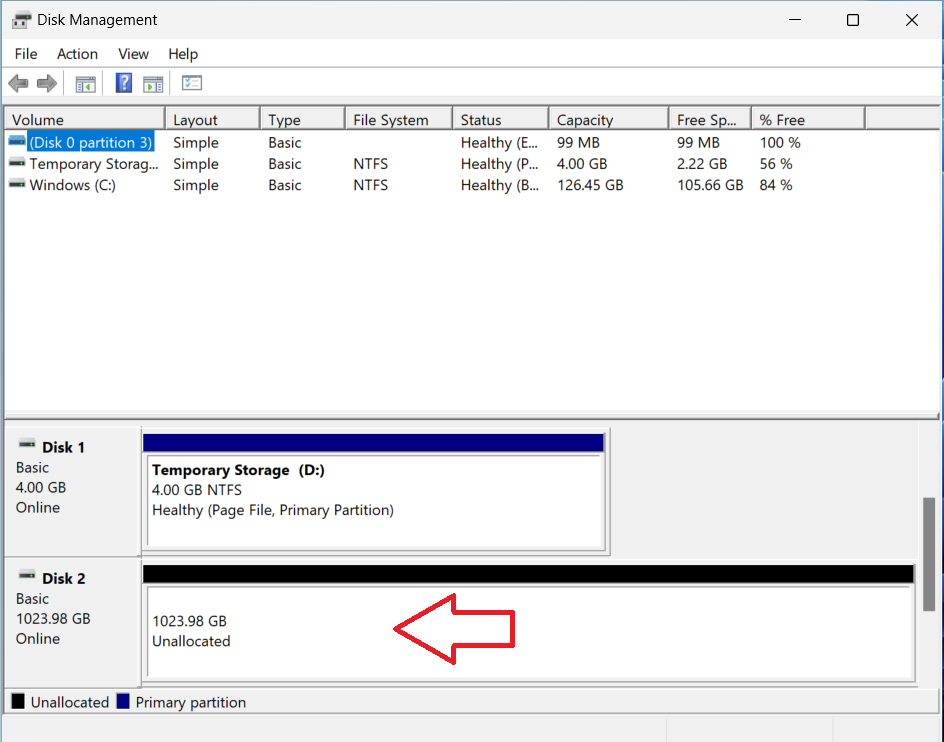
Scroll down to see the newly attached "unallocated" Disk.
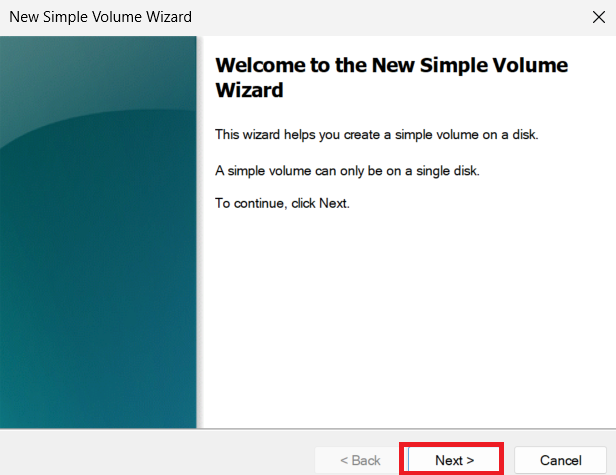
Right click the unallocated disk and select "New simple volume"

Click next.
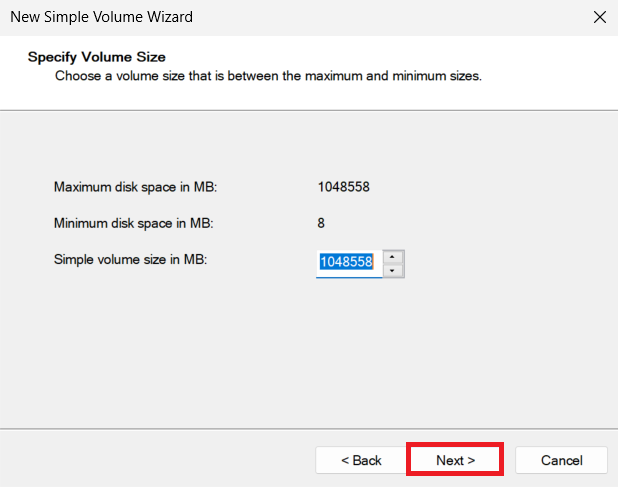
Click Next again.
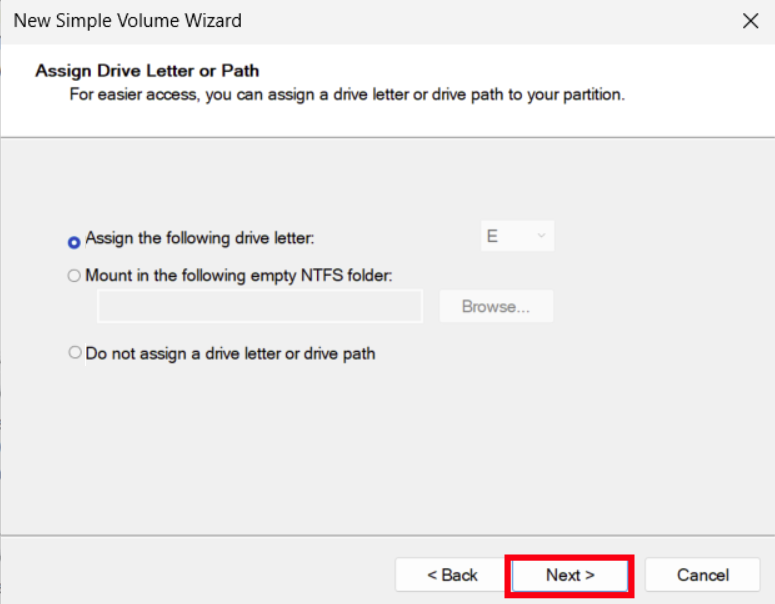
Select "Assign the following drive letter" and click next.
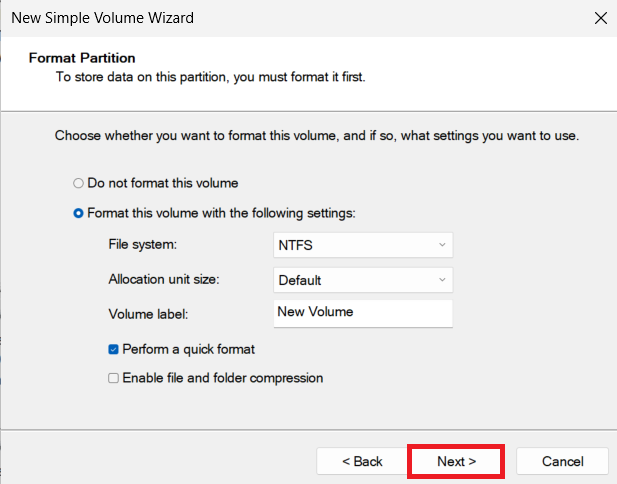
Click Next
Click finish.
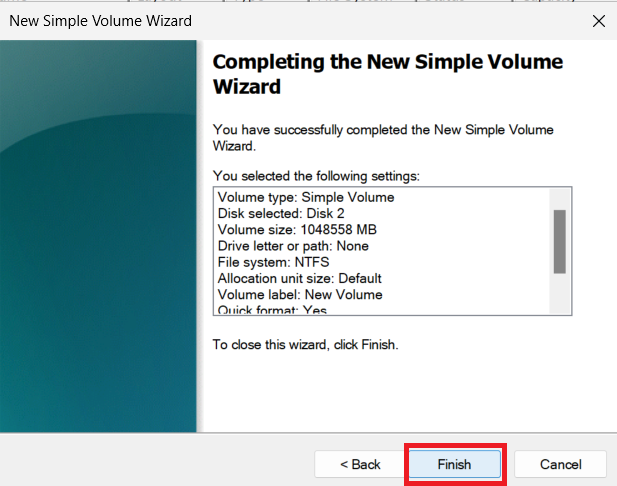
Your disk has been partitioned and is now ready for utilization.

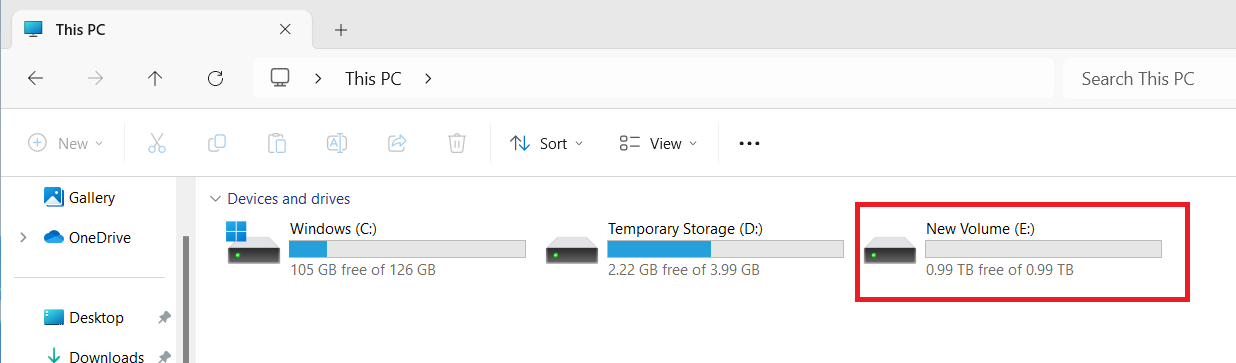
Navigate to your computer, and you should now observe your recently allocated disk, ready for utilization.
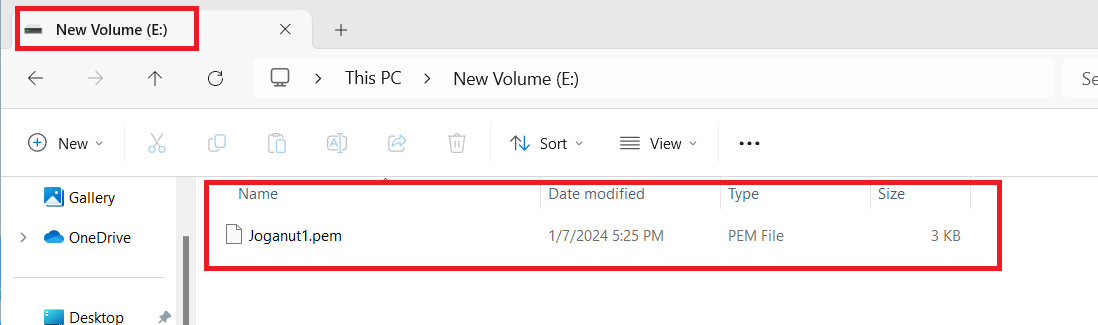
Start saving files 📂 in your new storage volume.
Congratulations! If you've followed the outlined steps, you have effectively created and initialized a data disk for your intended use.